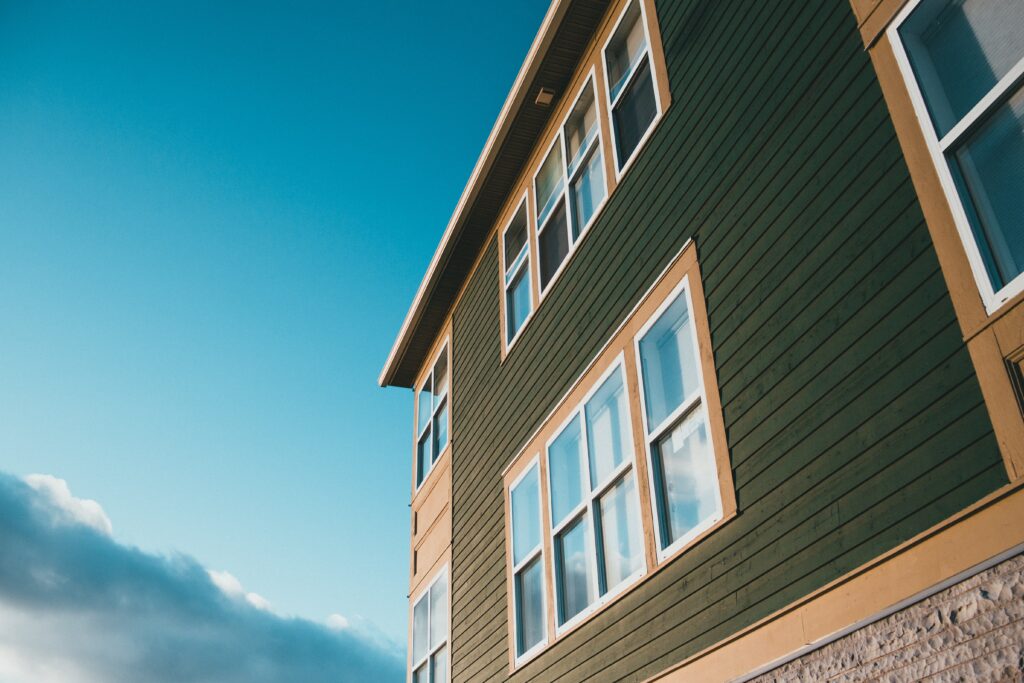
GARCIA’S PAINTING &
REPAIR NC LLC
How You Can Paint A Room In 10 Steps
Updated: Nov 15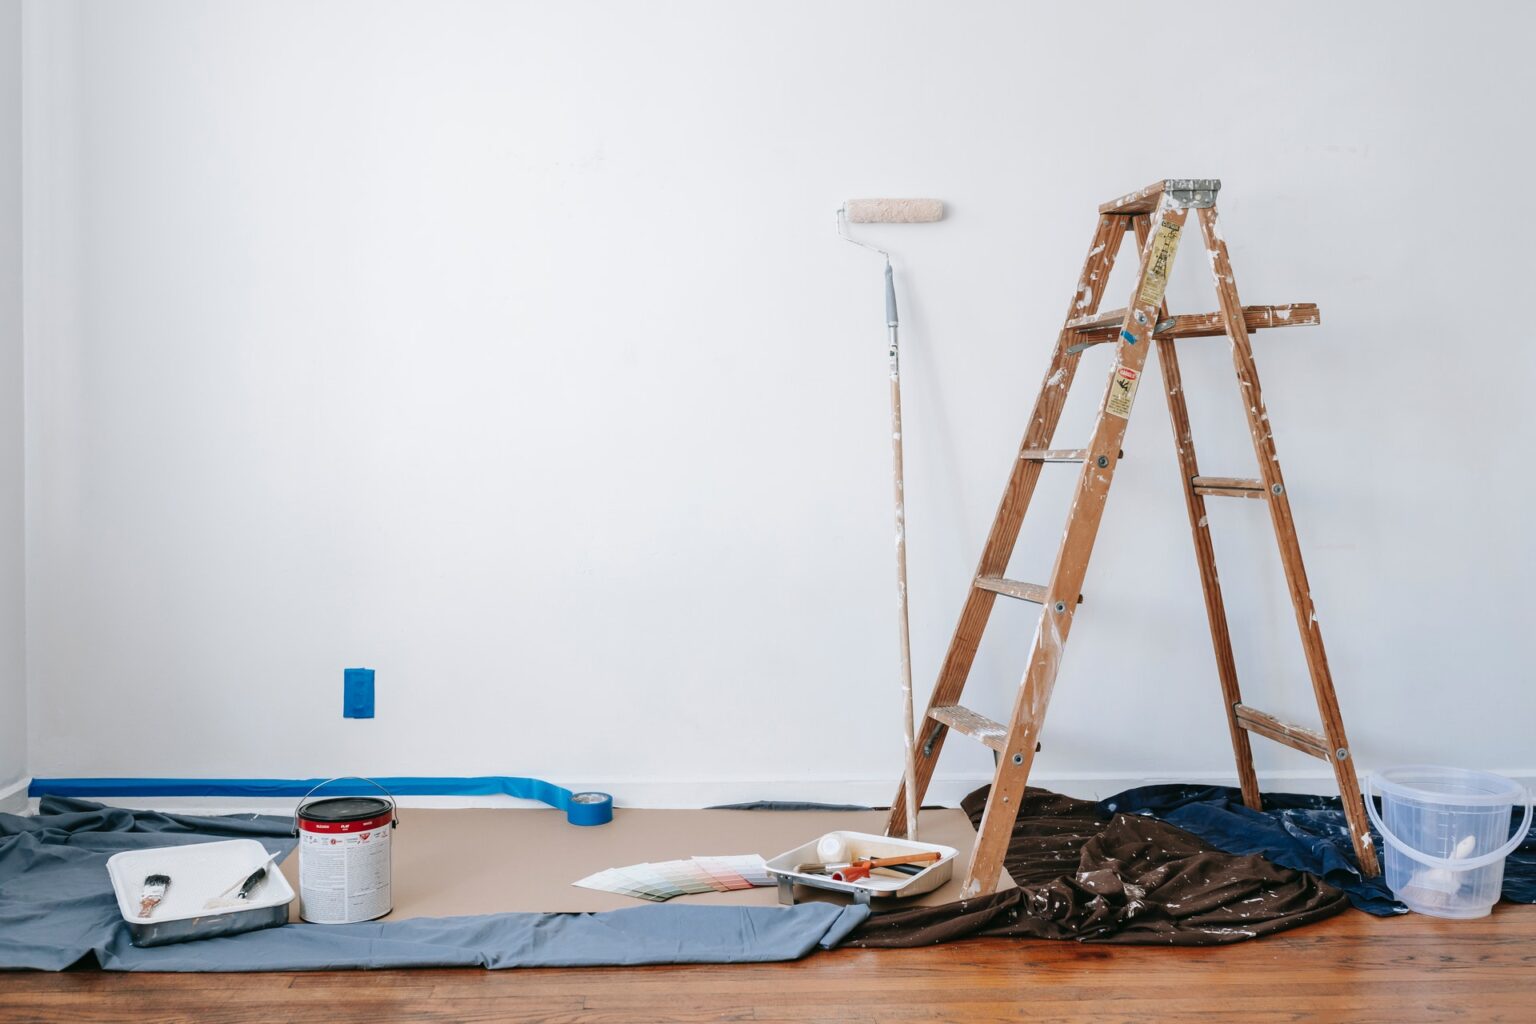
Hi! This article brings you some more great painting tips to help you paint your home.
Painting a room is painless, relatively inexpensive, and easy to fix. But it may go wrong if you miss managing the process of the project. So, before starting with your roller, it’s important to have a great plan. Read the plan of how to paint a room and follow the steps to ensure a successful project.
1. The Approach
First, think about how you want, the room will look like. Think of that you want four walls to be coloured the same or not. Don’t forget to see the ceiling as a refreshing wall as well. Highlight your walls in different accents, contrasting shades, or matte finished.
2. Choosing A Colour
Start figuring out colour characteristics; what colour would be best for your wall, warm or cool shade? Rather neutral or saturated shade. Once you have a sense of the best option you are looking for. Pick a few shades and get samples. Consider your furniture and other arts in your room, how they will complement the colour shades.
Many companies over an online offer to upload your space photo to give you a proper plan for painting. They give you options for different colours that you can use on the walls. But real-world conditions are not the same. So, you need to work out your space to pick the right colour. You test the samples of your colour choices to verify how they are looking in different lighting conditions.
3. Selecting The Right Tools and Materials
Gather all the necessary tools before starting; as you know, every project is different, and it needs unique tools depending on their work. But in this case, you need some of the tools that are must be picked.
- Paint: This is the main component you will need to paint the wall.
- Paint roller: This is the tool you will need to paint the wall.
- Paint roller extension pole: This tool holds the roller and allows your movement to ease the drop cloths. Drop cloths are the protective sheet that covers the floor and the furniture during painting.
- Paintbrushes: A brush for applying paints to your wall.
- Paint Tray: Paint trays are Aluminum or plastic made trays. It may come with hooks that allow the attachment with a ladder.
- Sandpaper: Sandpaper is sand or another abrasive stuck piece of paper that is used for smoothing and polishing surfaces.
- Painter’s Tape: Masking tape is known as painter’s tape. It is thin and easily tearable but pressure sensitive. It releases the pressure of adhesive.
- Rags: It’s a microfiber disposable paper towel for wiping.
- Puffy Knife: It’s a versatile hand tool for filling. It is used for wood filler, drywall filler, scrapping residue.
4. Determining The Amount of Paint
Whether painting the interior or exterior of your house, you must need a fixed amount of paint. You can colour four hundred square feet with one gallon of paint. Although it is just a rough guideline, you might need more gallons if you consider window or door measurements. You might need additional when you want to colour the lighter and less when you go for darker. A deep colour base requires more coating of paint than lighter colours. It is recommended to apply a grey primer on your wall before painting any saturated colours. It will help to reduce the number of colours application.
Before finishing, you might want a glossier colour, and it is a higher coverage rate. It makes your wall smoother. But the deference is to be ensured by purchasing several gallons extra. If you want a highly textured surface, then you need to add extra paint. Generally, the counting is 10% more than roughly calculated.
6. Mix The Paint
Use a smooth wooden stick to whip the paint during the whole painting session. Suppose you are using more than one gallon of paint and put them in a big can. Then mix it with the stick in case there is colour variation.
7. Painting technique
Be sure to apply a strategic plan before you start. Start from the top to the bottom of your wall, begin with the ceiling and adjoining light colored walls first. Do not paint over your accent wall, as it will then be painted dark. If you cover the darker walls with the lighter walls, plan on three coats plus two new colors.
- Remove the painter’s tape if you are painting the trim.
- After applying the tape, wait for the wall to dry.
- Start with the hardware up to the ceiling.
- Follow with the door to the door and window frames, and finally the baseboard.
8. Ventilation
Make sure your site is well ventilated. Open the windows and use the fans. It will speed up the drying process. On a humid day, paints will take a long time to dry.
9. Clean up
After applying several coats, remove all painter’s tape, pick up the cloths and dry them before moving them. Clean the brushes with soap or mineral spirits, or run them under running water.
10. Give yourself time
After completing the project, it may take several days. The job will need proper cleaning and preparation.
We hope these tips have helped you prepare to paint a room. If you are looking for a professional decorator to decorate your home, contact us today.
About Me
For Garcia’s Painting & Repair NC LLC, total customer satisfaction is paramount. We have helped illuminate the interior and exterior walls of thousands of homes over the years and look forward to the opportunity to provide a premium finish to your residence.